
My personal architectural aesthetic was pretty much locked into place by the 1960 Disney movie Swiss Family Robinson. I mean sure, they had materials from the wrecked ship to work with, but running water, a piano and a skylight in the master bedroom of a jungle treehouse? That is living my friend. I will never forgive Disney for retheming their home with some stupid Tarzan noise.
Anyways. There is a little corner of our property here on Whidbey that bumps up against a shared road-end lot. We need a fence there to keep our dog in (and others out), but it’s also the only direct access to the ocean-side yard, so we need a gate that can open. Time for some driftwood construction, Swiss Family Robinson style!

Turns out that getting random driftwood constructs square enough to hang evenly, swing freely and latch securely is a little harder than it looks. But eventually we got there, with beautiful finishing decoration courtesy of my daughter Alex, who at 27 still can rock the deserted island vibe.
The rule was that (excepting hardware) the structure could use only driftwood pulled off of the beach. I cheated in two places — first, I didn’t pour concrete footings, but did bury short treated posts in the ground under each leg, secured with lengths of rebar between. I also cut a circle out of marine-grade plywood for Alex to mount the sunburst pieces on. Good to have those off my conscience.
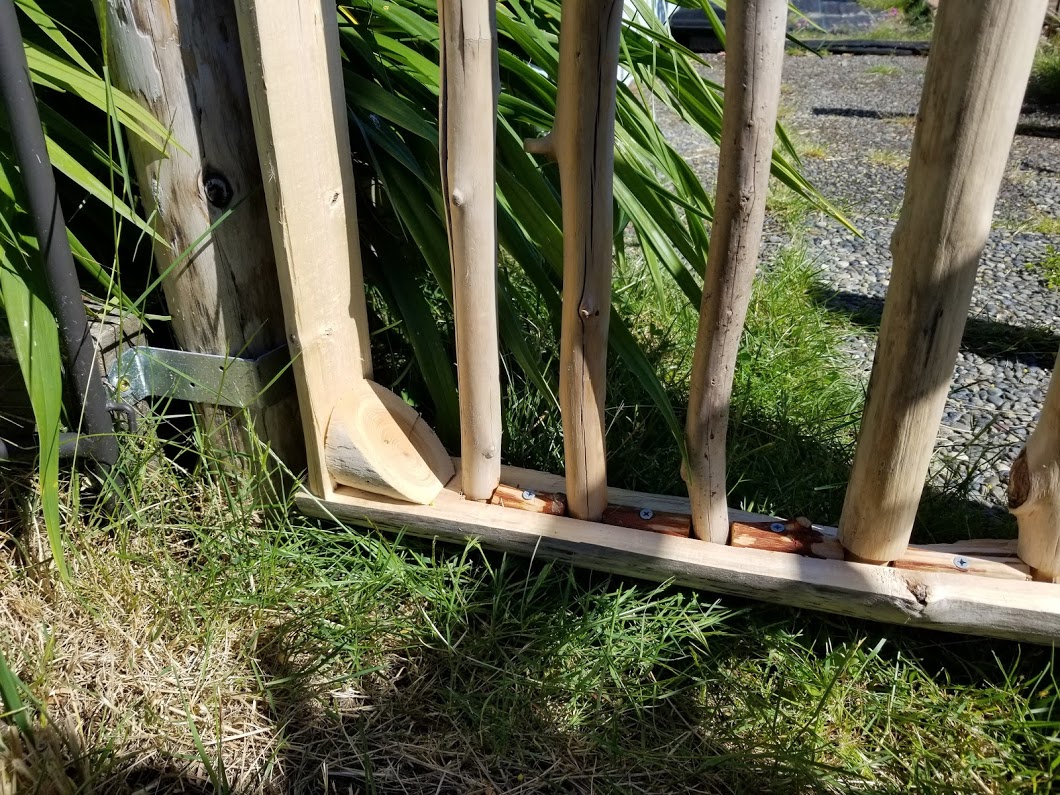
The framing rails of the gate came from branches about 5″ diameter that I cut in half lengthwise using multiple wedges. Branches of this diameter almost always naturally split while they dry, and unfortunately the lines they choose are rarely square (knots don’t help!) so this took a few tries to get right. My super-awesome (and cheap) new electric planer evened out the flat sides pretty well and little 90-degree chucks at the corners kept things stable.
I routed channels on the top and bottom rails, and then went hunting for the vertical pieces to lock into them. My favorite part of this was using the router table to create little round tenons that fit into the slot. Final assembly was a bit of a challenge — bungee cords did a great job of holding it all together while leaving enough flexibility to pop the slats into place.
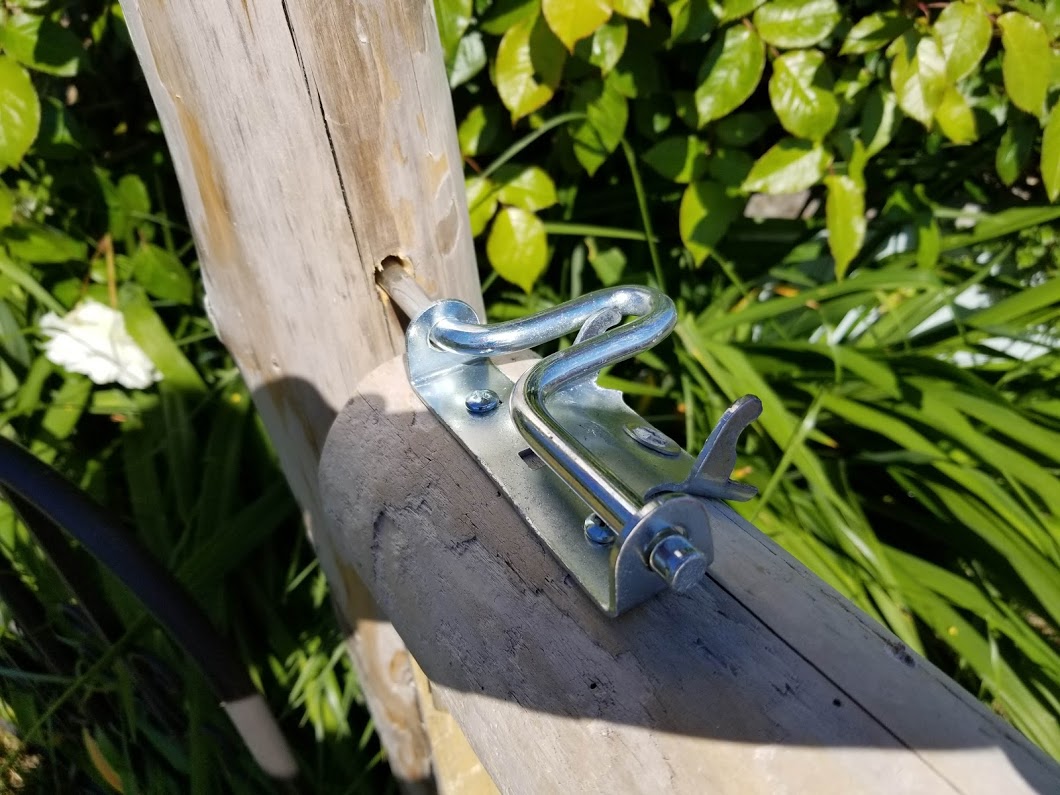

Honestly, the thing that worried me the most was the hanging hardware. This ain’t construction-grade wood here folks, and even a small gate hung on one side creates a bunch of downward torque. But as always, staring vacantly at hardware shelves (thanks Sebo!) for a half hour did the trick — A couple of big screw hooks and galvanized eyebolts were easy to adjust and make it easy to just lift the gate off if needed. Reshaped a standard latching bolt with my beloved angle grinder (and a hammer) and holy crap it actually all came together.

Alex’s contribution really makes the look. She spent a ton of time picking little pieces and getting them arranged into the sunburst — turns out little super-thin drywall screws do the best job at securing fragile wood bits without splitting them.
Next up, a log bench on the waterside with a nice backrest for enjoying summer evenings with a short pour of classy whiskey (Fireball). On it!
